以下使用腾讯云的 Llama3.2 - RAG SFT练习 空间模板
Conda 环境
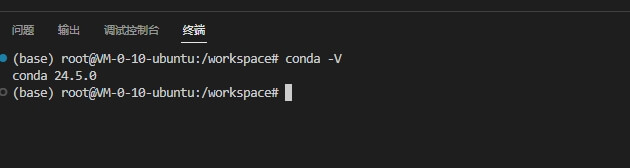
该空间模板已安装好 Conda 环境
更换国内源
使用清华的国内源
1
2
3
4
5
6
| conda config --add channels https://mirrors.tuna.tsinghua.edu.cn/anaconda/cloud/msys2/
conda config --add channels https://mirrors.tuna.tsinghua.edu.cn/anaconda/cloud/conda-forge
conda config --add channels https://mirrors.tuna.tsinghua.edu.cn/anaconda/pkgs/free/
conda config --add channels https://mirrors.tuna.tsinghua.edu.cn/anaconda/cloud/pytorch/
conda config --add channels https://mirrors.tuna.tsinghua.edu.cn/anaconda/pkgs/main/
conda config --set show_channel_urls yes
|
创建虚拟环境
使用 Conda 创建独立的 Python 环境,可以避免不同项目间的依赖冲突。
1
2
| # 创建一个 3.10 版本的环境 jupyter_env
conda create -n jupyter_env python=3.10 -y
|
然后就开始安装环境的依赖,可以看到这里使用的 python-3.10.16

激活环境
安装完成后,就可以激活 jupyter_env 环境
1
| conda activate jupyter_env
|
切换清华源
由于更新过快难以同步,我们不同步pytorch-nightly,pytorch-nightly-cpu,ignite-nightly这三个包。
1
2
3
4
5
| conda config --add channels https://mirrors.tuna.tsinghua.edu.cn/anaconda/pkgs/free/
conda config --add channels https://mirrors.tuna.tsinghua.edu.cn/anaconda/pkgs/main/
conda config --add channels https://mirrors.tuna.tsinghua.edu.cn/anaconda/cloud/pytorch/
conda config --add channels https://mirrors.tuna.tsinghua.edu.cn/anaconda/cloud/pytorch/linux-64/
conda config --set show_channel_urls yes
|
安装 Jupyter Notebook
在激活的虚拟环境中,运行以下命令安装 Jupyter Notebook
1
| conda install jupyter notebook
|
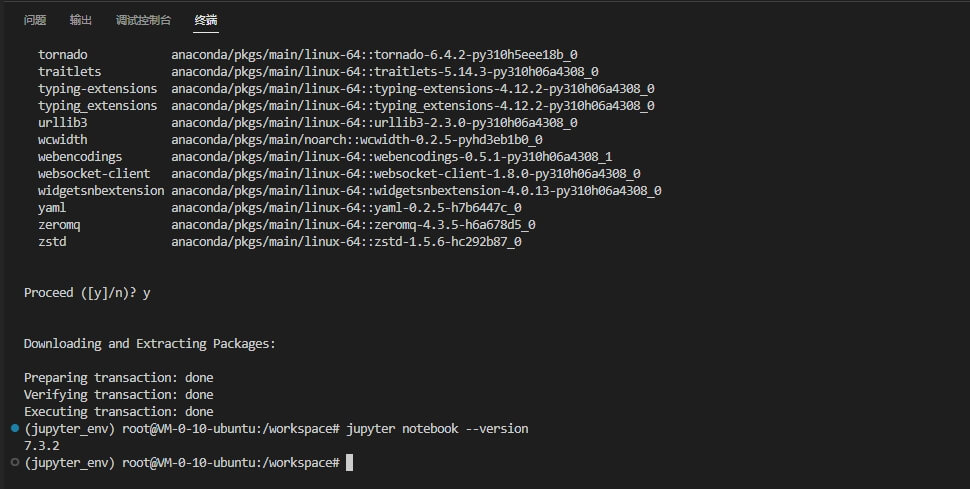
安装完成后,验证安装
1
| jupyter notebook --version
|
启动 Jupyter Notebook
允许 root 方式启动,并允许远程访问
1
| jupyter notebook --allow-root --ip=0.0.0.0 --port=8888
|
使用
ngrok 安装
使用内网渗透工具,就可在外网访问,具体查看 Cloud Studio 软件环境安装 的相关介绍
绑定端口
绑定 8888 端口
打开 jupyter 面板
点击 ngrok 的公网地址,就看到以下页面
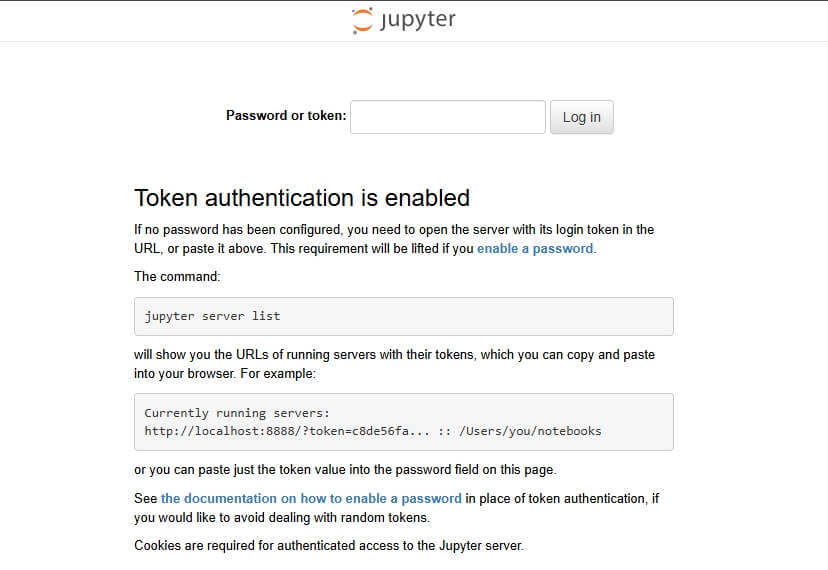
这里会提示输入 token,我们可以通过命令行查找
1
2
| # 必须要在虚拟环境 jupyter_env 内执行
jupyter server list
|

输入 token 后就可以看到面板
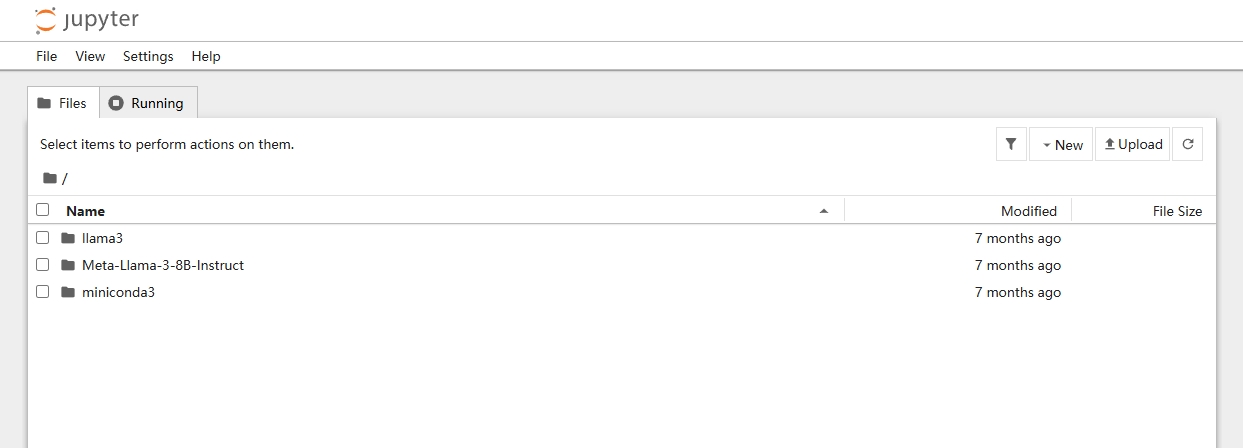
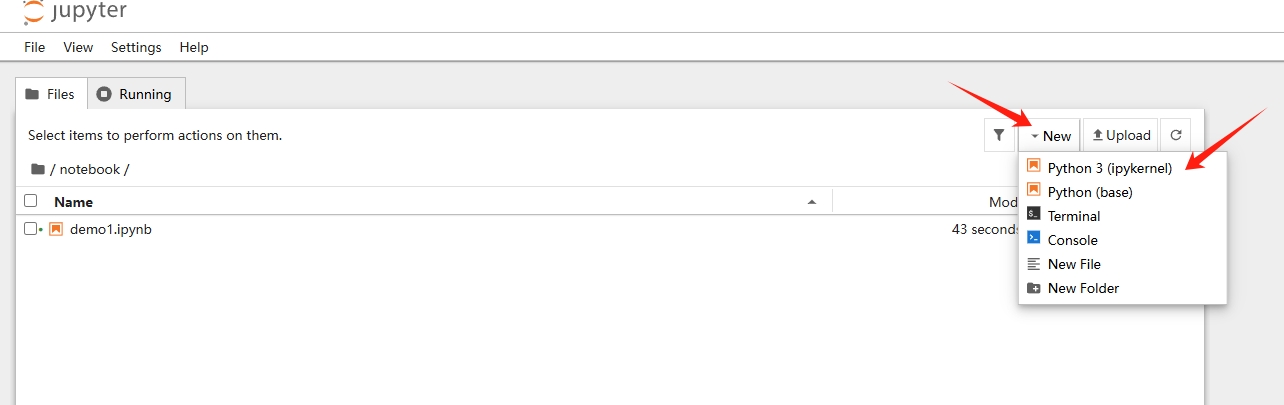
新建文件
我们右键新建一个 notebook 目录,然后新建我们的测试文件 demo1.ipynb,这里要注意使用 Python 3(ipykernel),这个才是上面在虚拟环境创建的 python3.10.16 环境
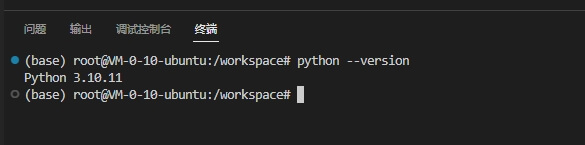
我们可以验证一下
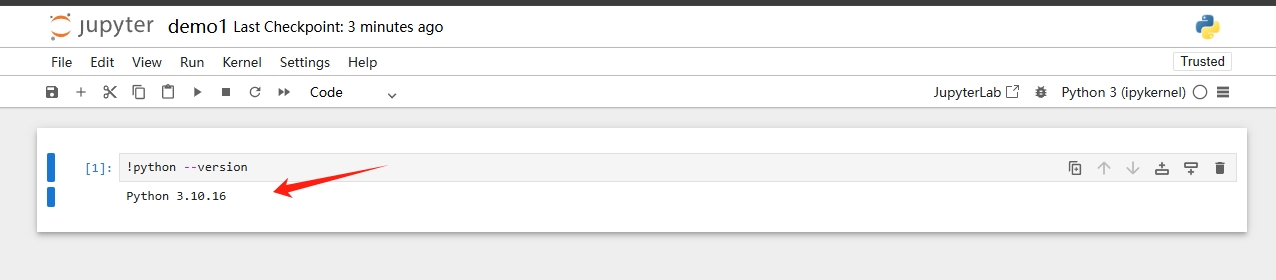
而腾讯云使用的 python3.10.11
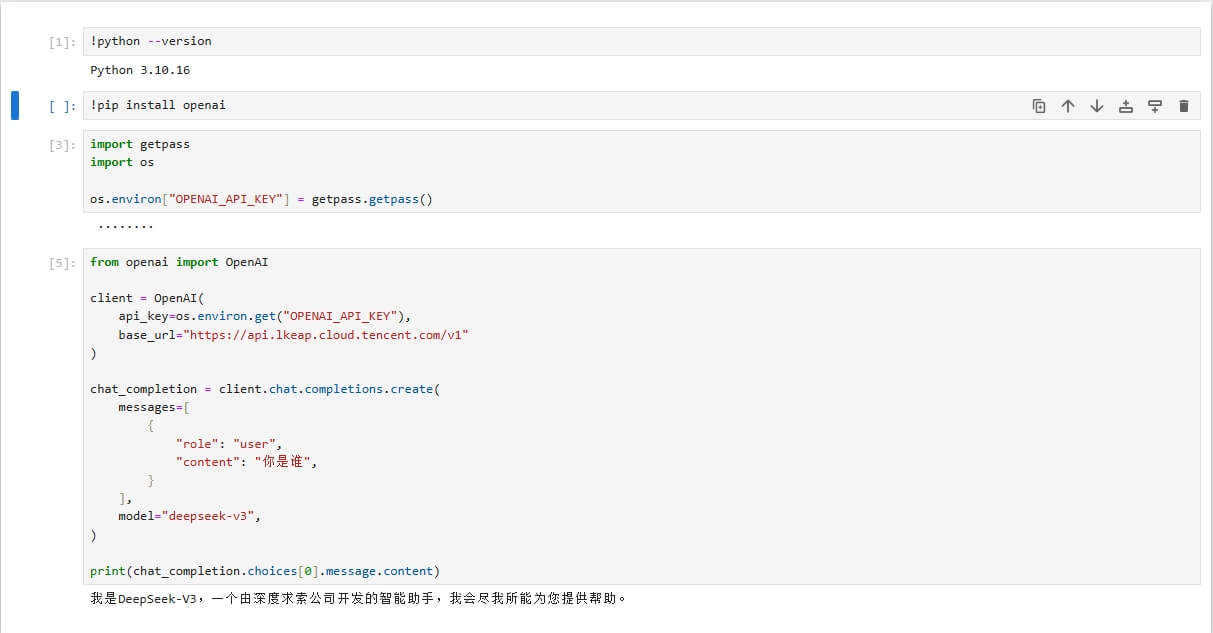
测试
最后我们就可以这个环境下做测试,例如我这边是调用 openai 的接口,使用的 腾讯云 提供的免费接口,它与 openai 兼容
其他事项
安装 conda
如果容器中没有 conda,需要自行安装
https://repo.anaconda.com/archive/
下载安装脚本
1
2
| # 大概有1G
wget https://repo.anaconda.com/archive/Anaconda3-2024.10-1-Linux-x86_64.sh
|
安装
按照提示安装即可
1
| bash Anaconda3-2024.10-1-Linux-x86_64.sh
|