最近腾讯云的 cloud studio 产品,限制免费每月 1W 分钟,但是免费账号每天凌晨 2点 会自动关机,所以要用来训练微调模型估计有点难了,但是用来搭建一些应用还是可以的,接下来就介绍部署开源 AI 大模型工作流神器 flowise
创建模板
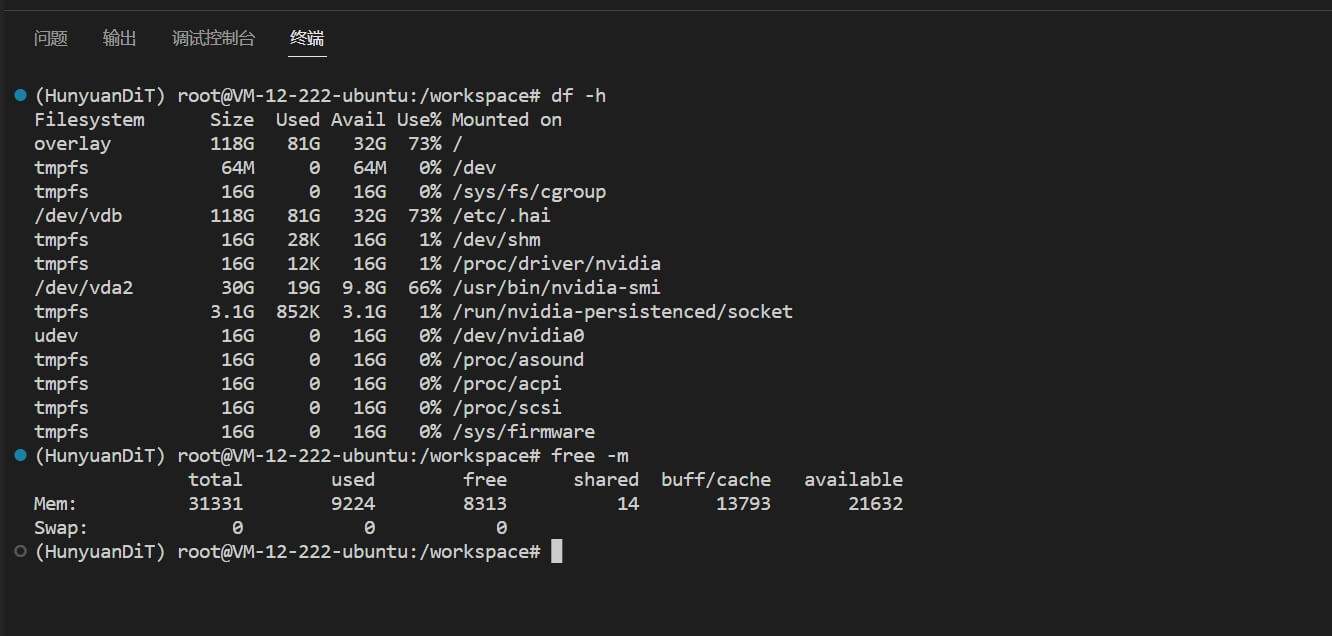
使用 混元 Dit 模板,磁盘空间比较大,将近 120G,像其他的模板,例如 ollama,只有 50G 左右。像我们搭建好以后,都要使用到 80G 左右的磁盘,如下图:
更新软件包
命令行安装
Nodejs 环境安装
使用 20.x 版本
1
| curl -fsSL https://deb.nodesource.com/setup_20.x | sudo -E bash -
|
安装 nodejs
腾讯云镜像源加速
运行以下命令:
1
| npm config set registry http://mirrors.tencent.com/npm/
|
避免 SSL 校验失败:
1
| npm config set strict-ssl false
|
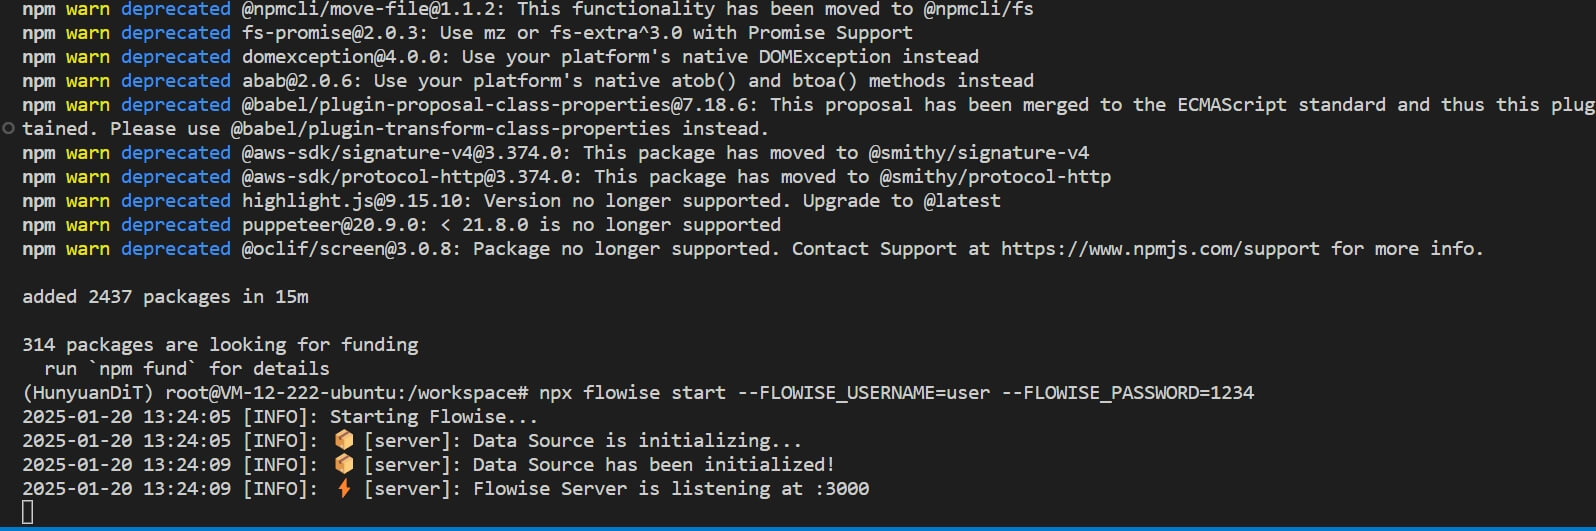
安装 flowise
启动
1
2
3
| npx flowise start
# 带登录账号启动
# npx flowise start --FLOWISE_USERNAME=user --FLOWISE_PASSWORD=1234
|
flowise 运行在 3000 端口
Ngrok
内网穿透,使公网可以访问内部网络,但是公网地址国内需要代理才能够访问
注册账号
登录后台切换到 linux 安装教程
https://dashboard.ngrok.com/get-started/setup/linux
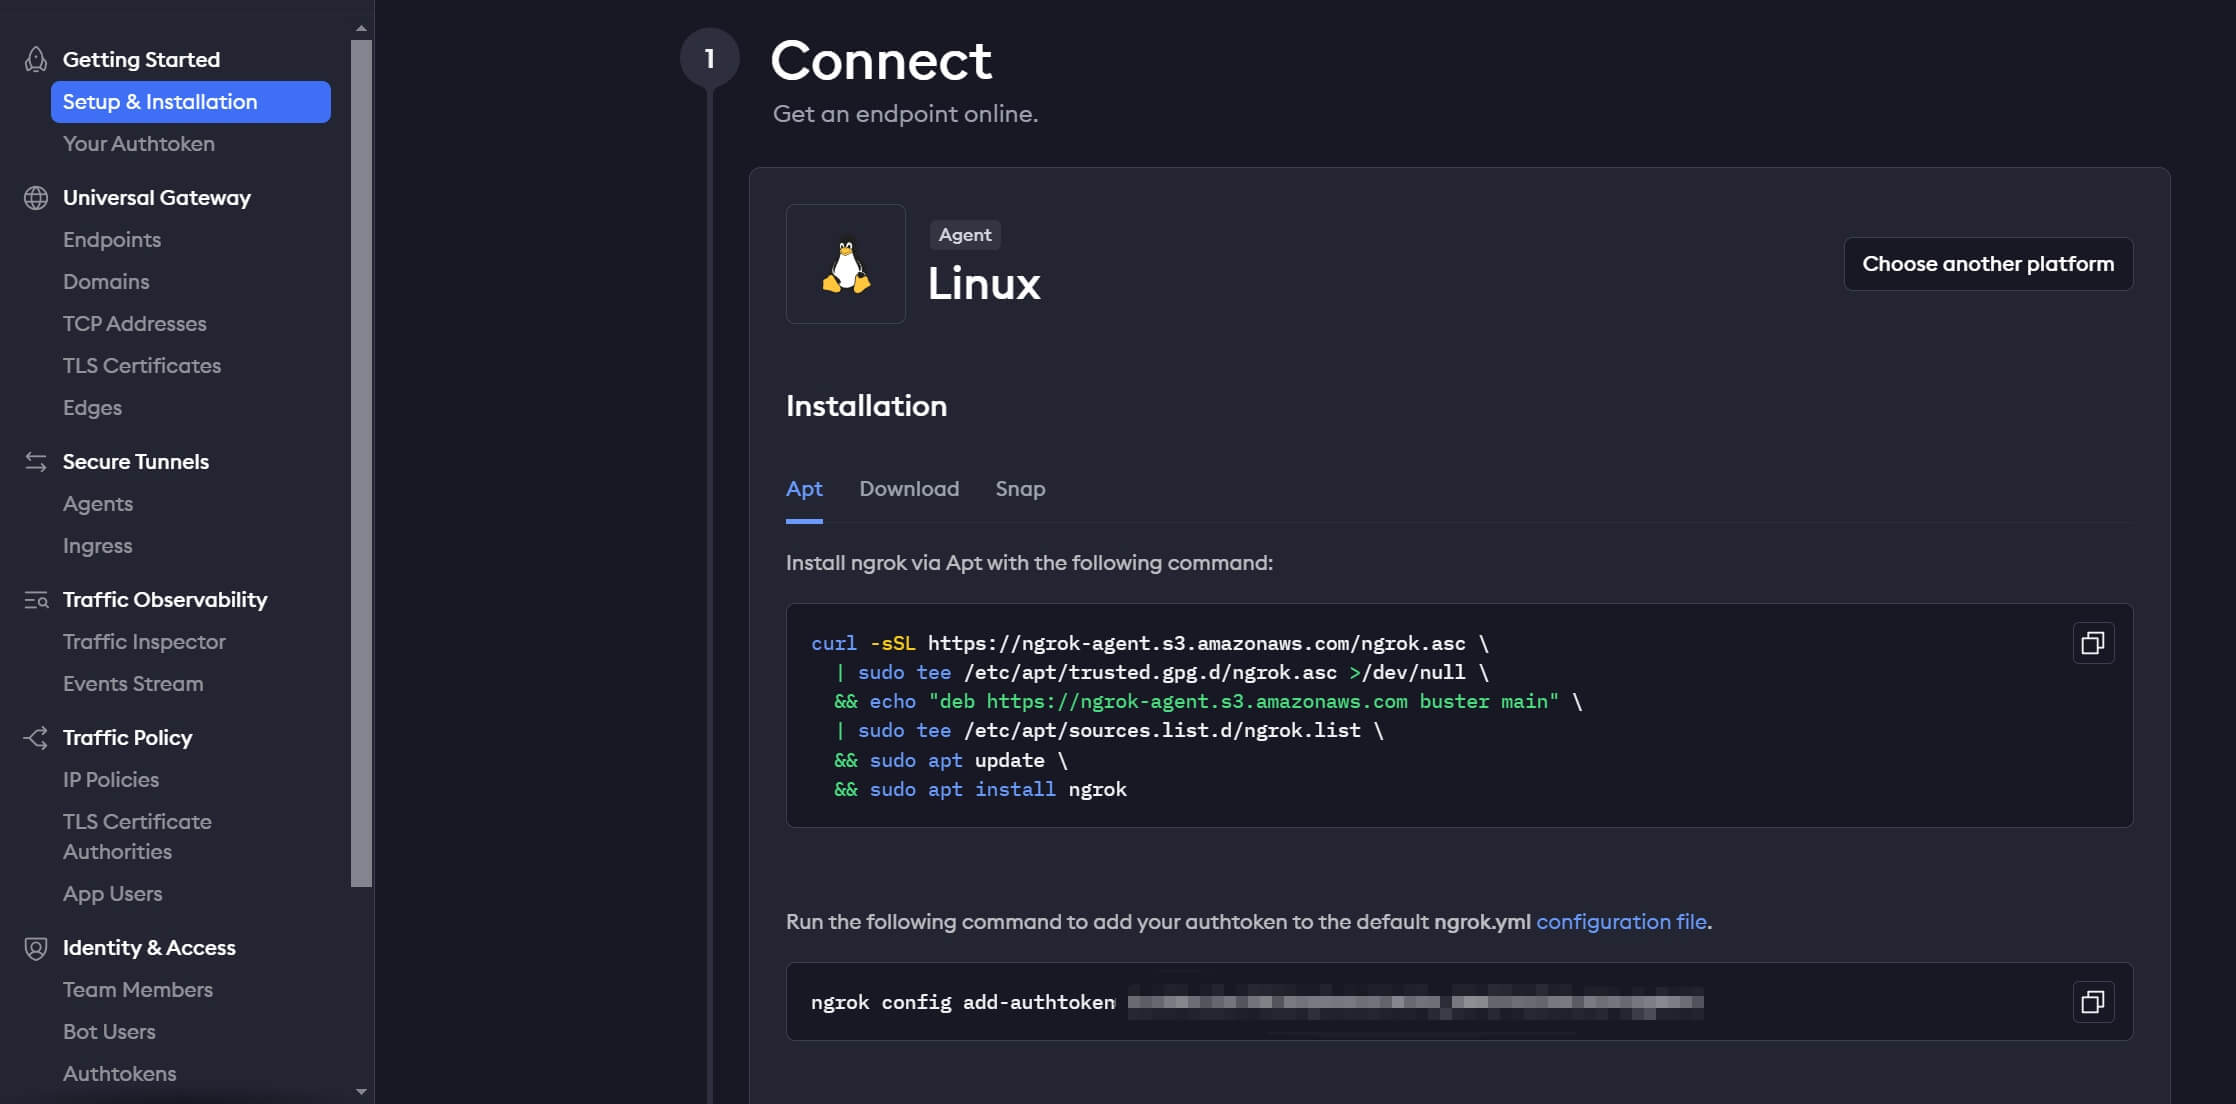
安装
1
2
3
4
5
6
| curl -sSL https://ngrok-agent.s3.amazonaws.com/ngrok.asc \
| sudo tee /etc/apt/trusted.gpg.d/ngrok.asc >/dev/null \
&& echo "deb https://ngrok-agent.s3.amazonaws.com buster main" \
| sudo tee /etc/apt/sources.list.d/ngrok.list \
&& sudo apt update \
&& sudo apt install ngrok
|
配置
1
2
| # [Your Token] 填入实际的token
ngrok config add-authtoken [Your Token]
|
绑定端口
注意一个账号只能够绑定一次
1
2
| # 3000 为 flowise 服务端口
ngrok http 3000
|
绑定成功后,就会看到公网地址,一般为 xxx.ngrok-free.app
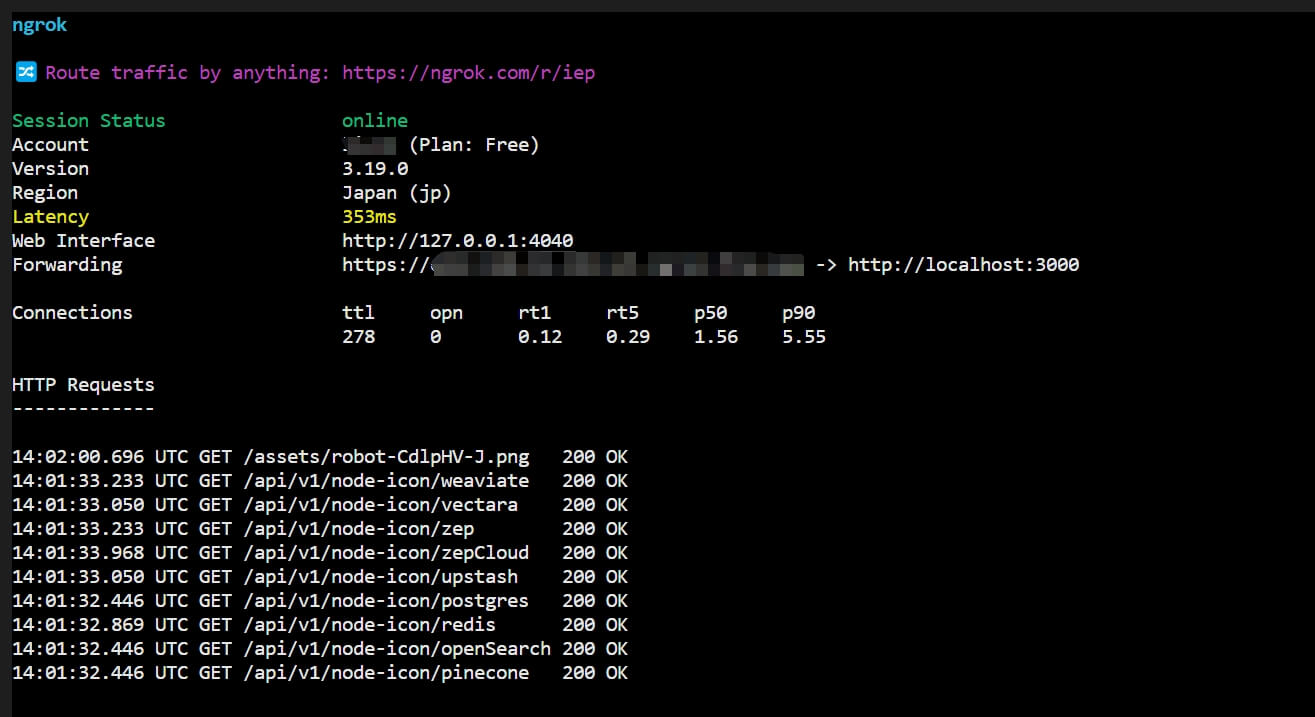
访问公网地址就可以进入应用页面了
Ollama 安装
1
| curl -fsSL https://ollama.com/install.sh | sh
|
配置 ollama 跨域访问
1
| vim /etc/systemd/system/ollama.service
|
修改成下面这样
 1
 2
 3
 4
 5
 6
 7
 8
 9
10
11
12
13
14
15
16
| [Unit]
Description=Ollama Service
After=network-online.target
[Service]
ExecStart=/usr/bin/ollama serve
User=ollama
Group=ollama
Restart=always
RestartSec=3
Environment="OLLAMA_HOST=0.0.0.0"
Environment="OLLAMA_ORIGINS=*"
[Install]
WantedBy=default.target
|
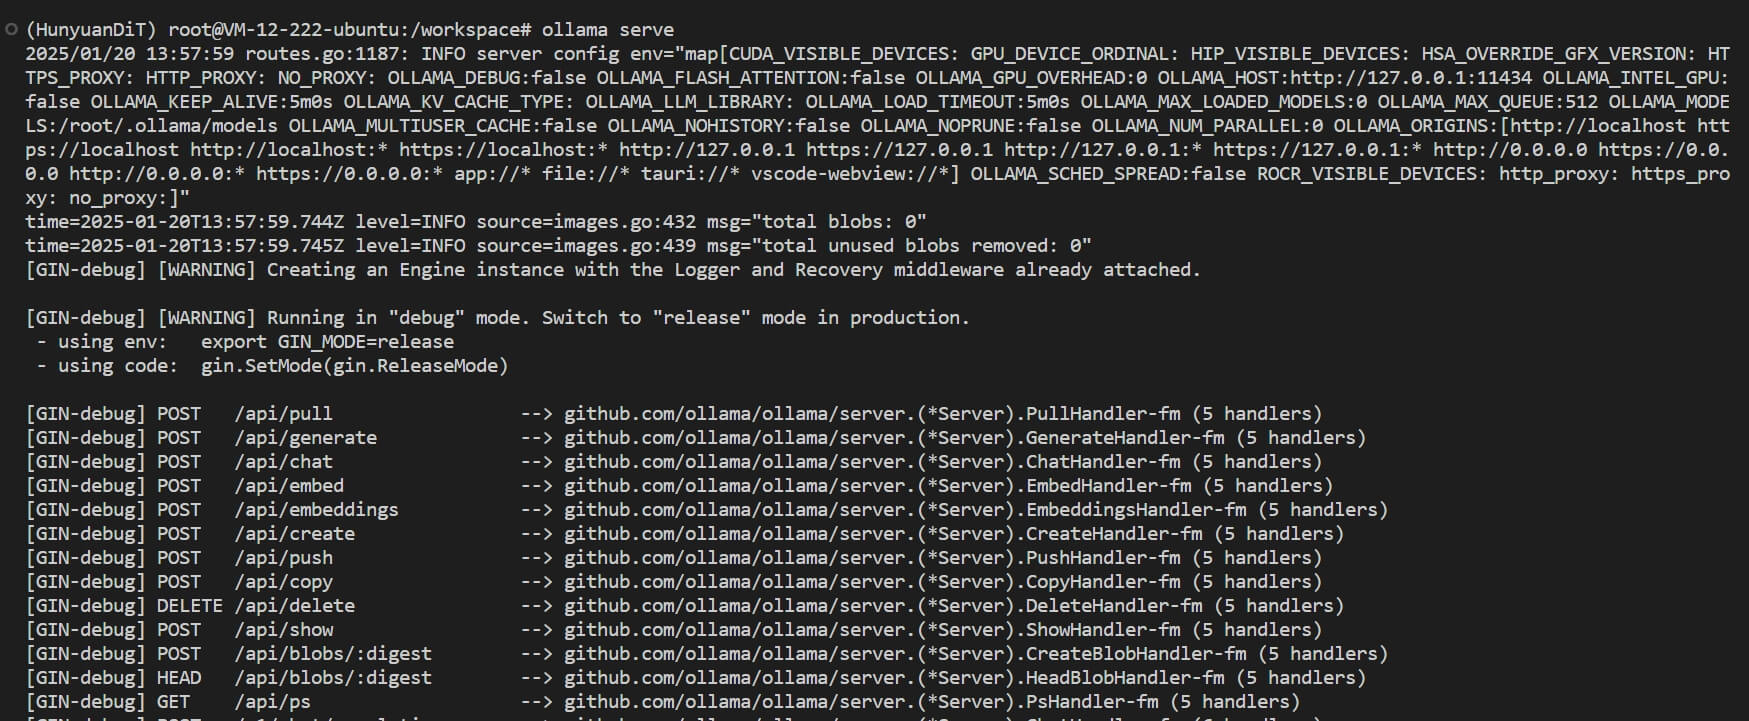
启动服务
这里原想设置为服务,并自动启动,一直不成功,没调整出来,只能够在前台启动
1
2
| # 开启新终端启动,并且不能关闭
ollama serve
|
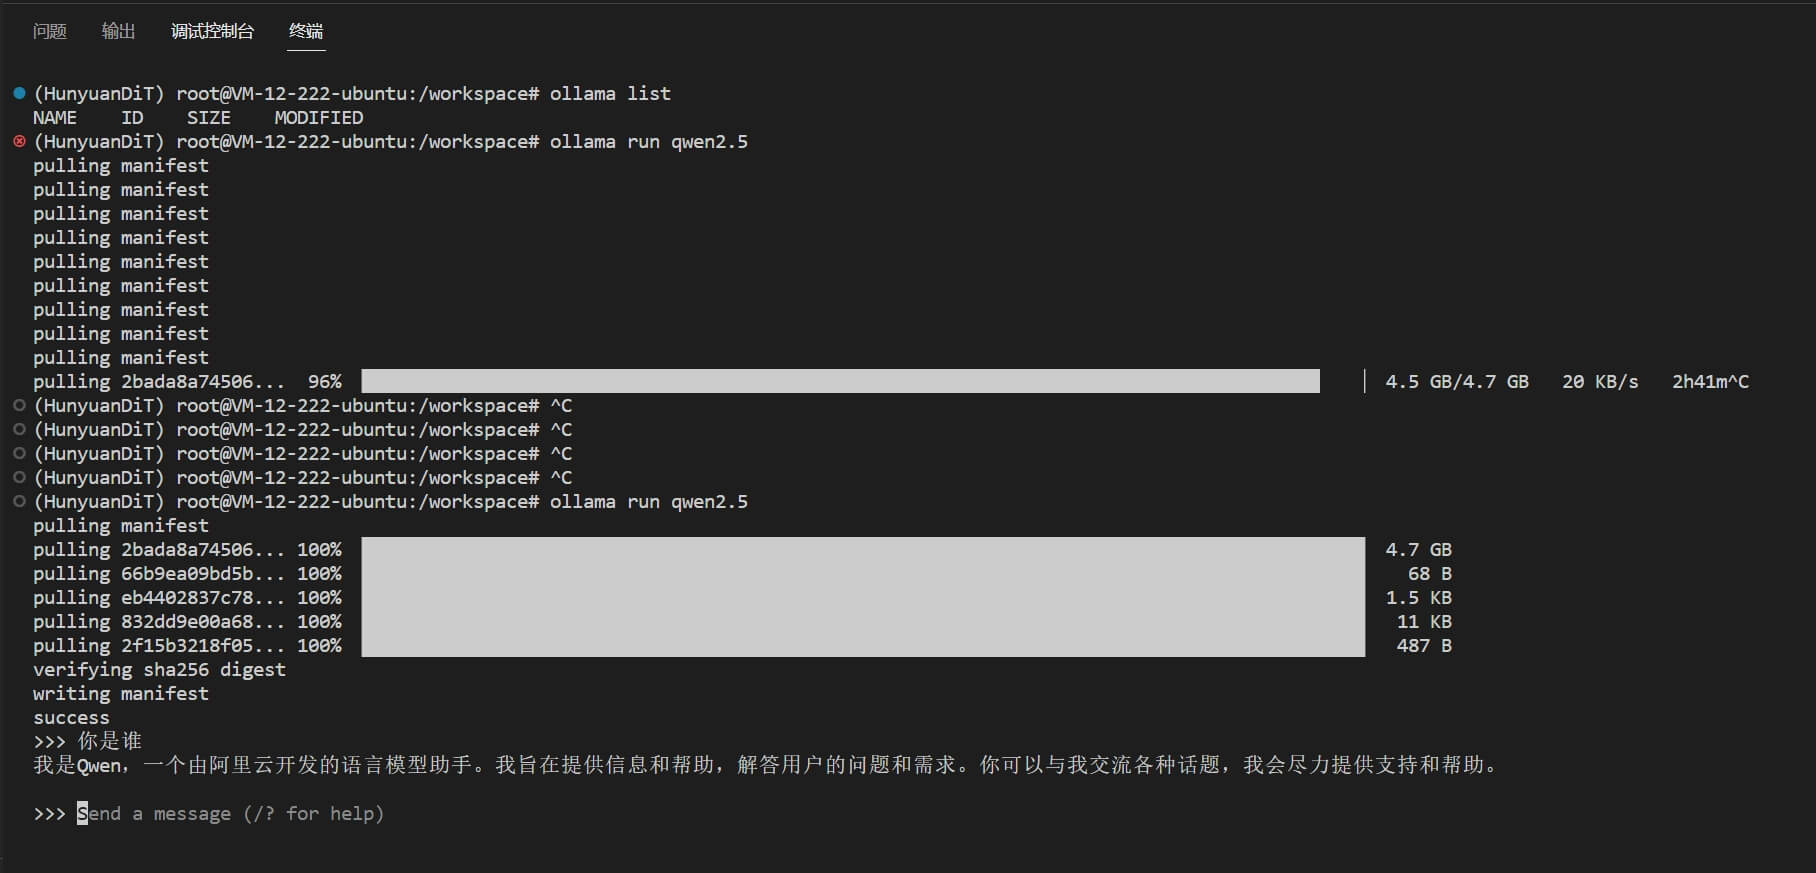
拉取模型
1
2
| # 使用 qwen2.5 7b 模型
ollama run qwen2.5
|
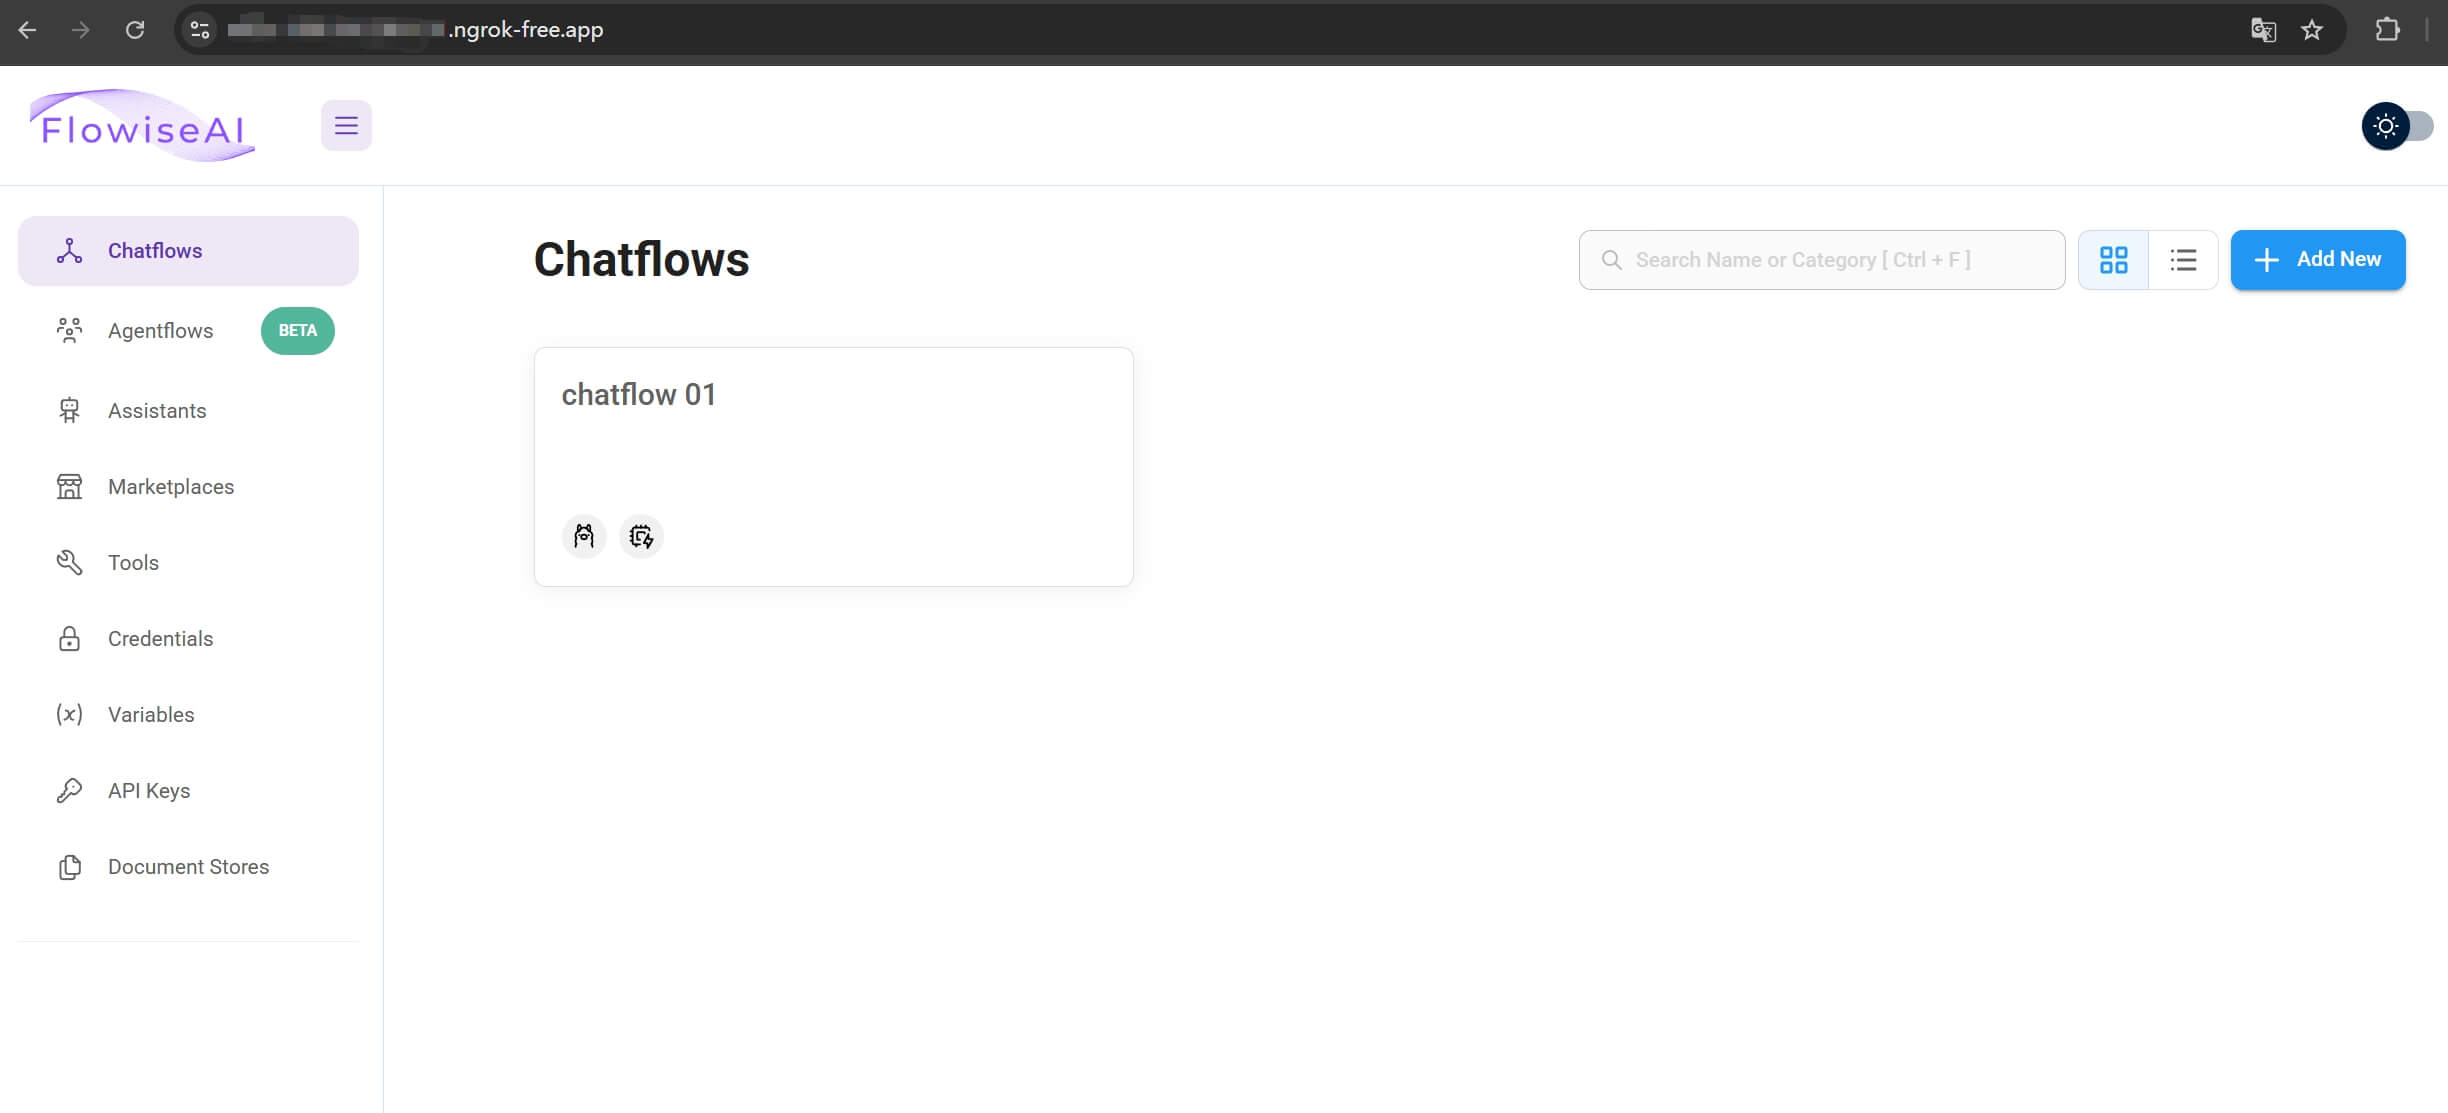
创建应用
接下来我们就可以创建自己的 AI 大模型工作流了,简单创建一个 Chatflows,试一试 ollama 拉取的 qwen2.5 能不能跑起来
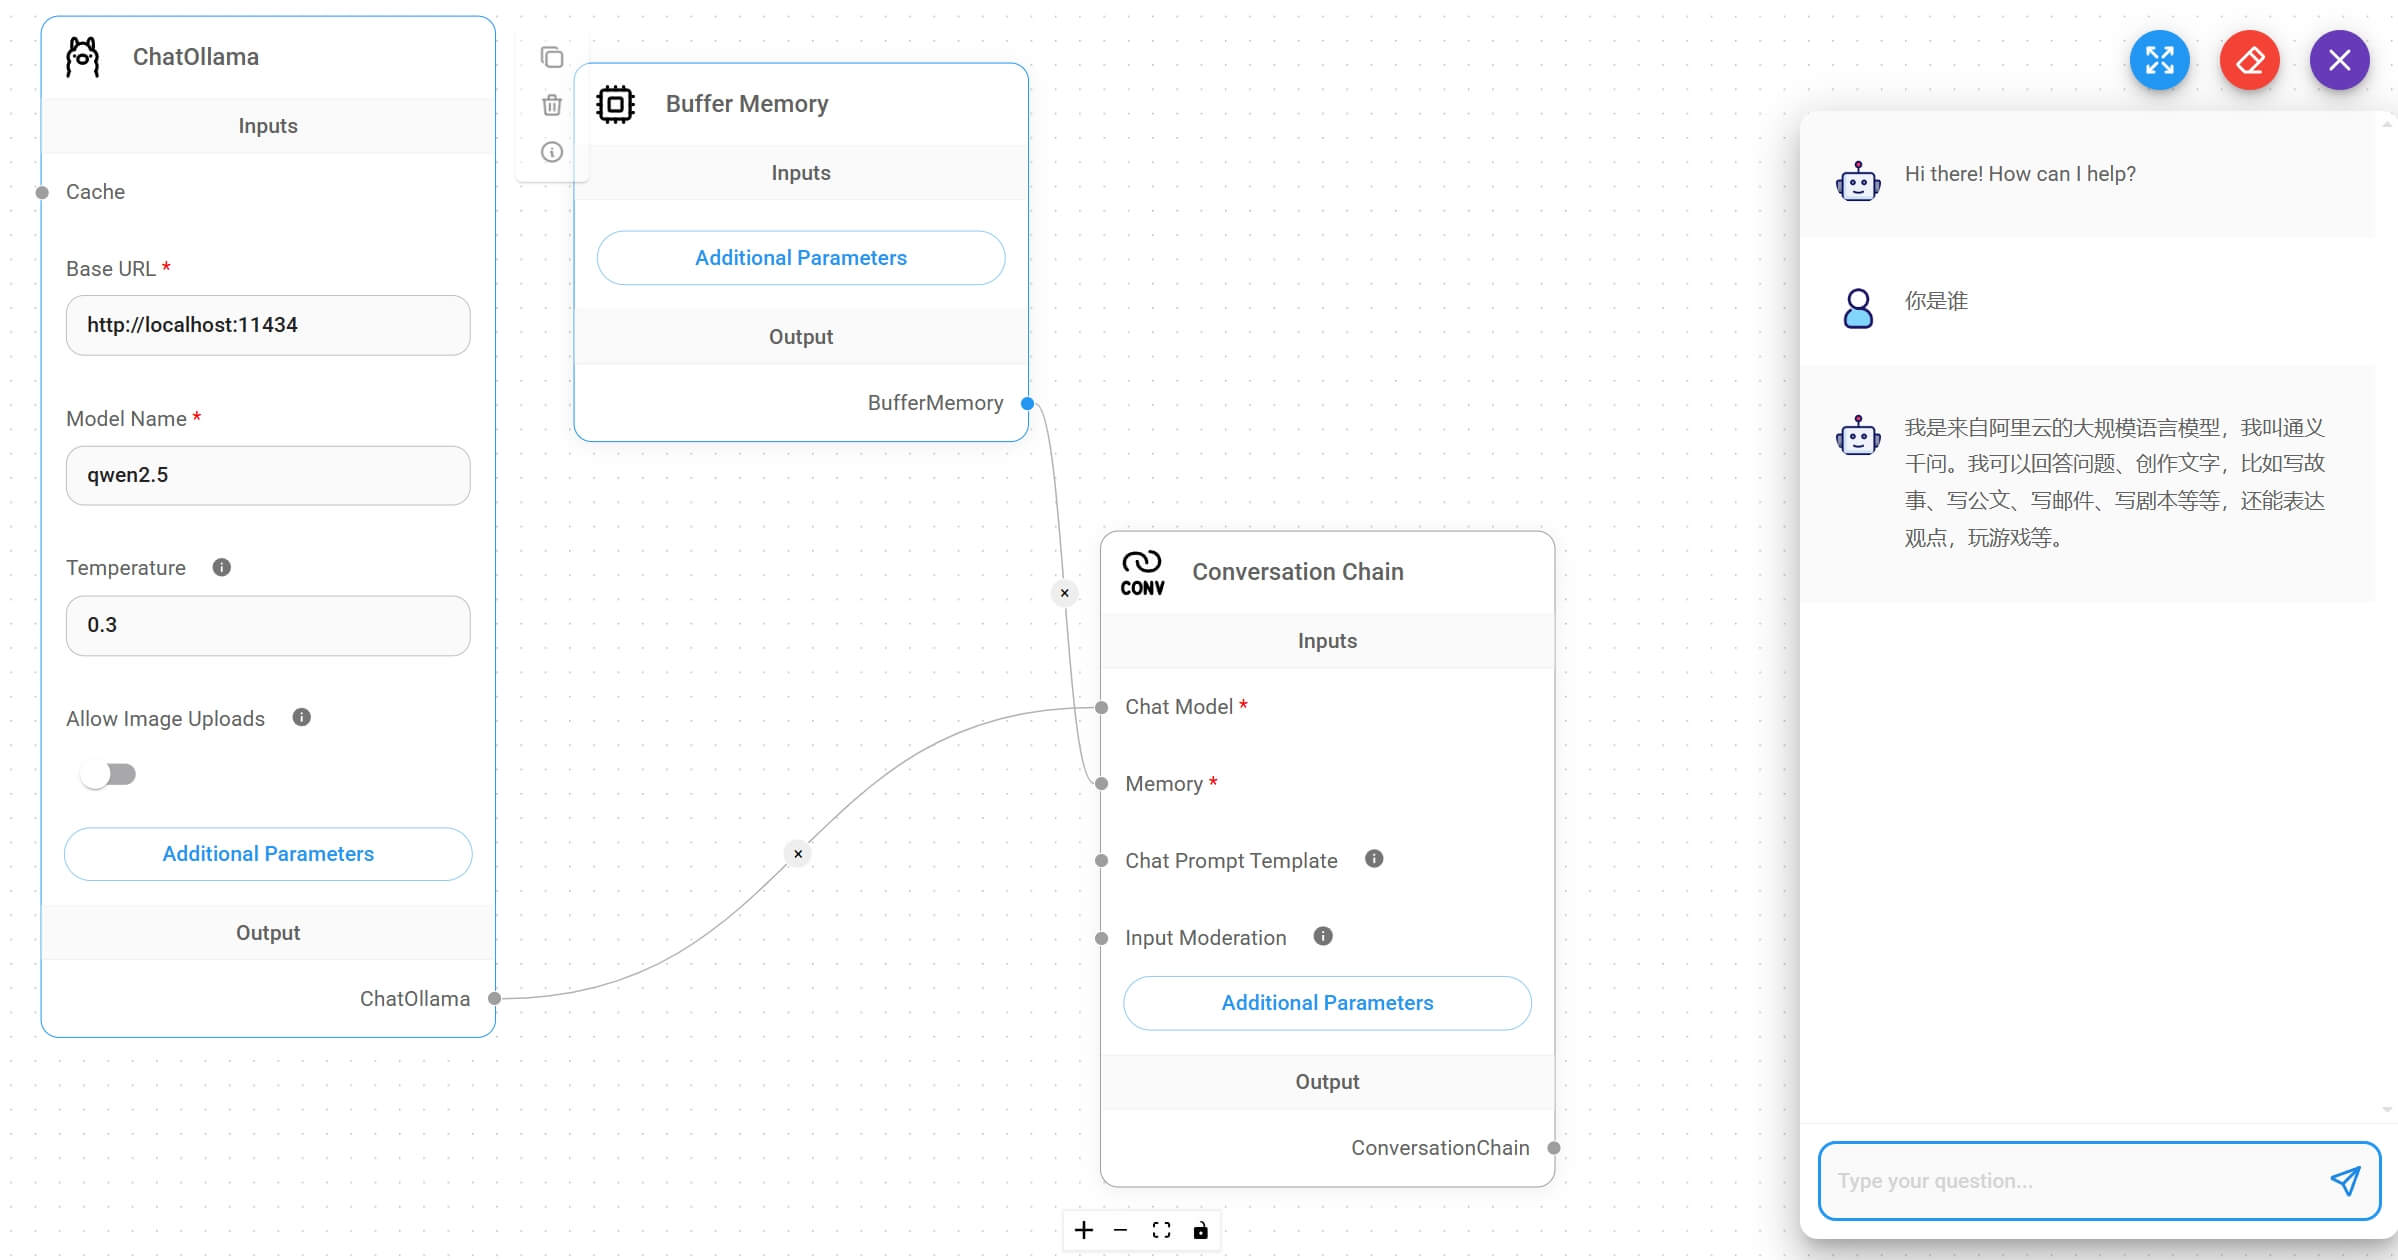
实际的效果运行速度不是很快,但是还能够接受
大家如果有疑问,或者要讨论的,可以添加我的公众号留言哦
